These days, one needs cloud storage, but it is expensive and comes with privacy risks when relying on third-party services. What if you could take that old, unused computer and turn it into a fully functional home cloud storage system? Not only will you save money this way, but you will also have full control over your data.
In this article, I will demonstrate how to upcycle your discarded hardware into personal cloud storage.
Why Make Your Own Cloud Storage?
There are a number of reasons why one would want an independent cloud system: you enjoy complete privacy, since your data sits in your home and you’re not reliant upon any third-party service. Second, it’s cost-effective in the sense that there are no monthly subscription fees; instead, you have only an initial setup with some power consumption.
Full Control: You decide how much storage you want, and upgrade accordingly at the pace you wish.
Repurpose Old Machines: That old computer doesn’t have to just gather dust.
Step 1: Hardware Selection
What You Will Need:
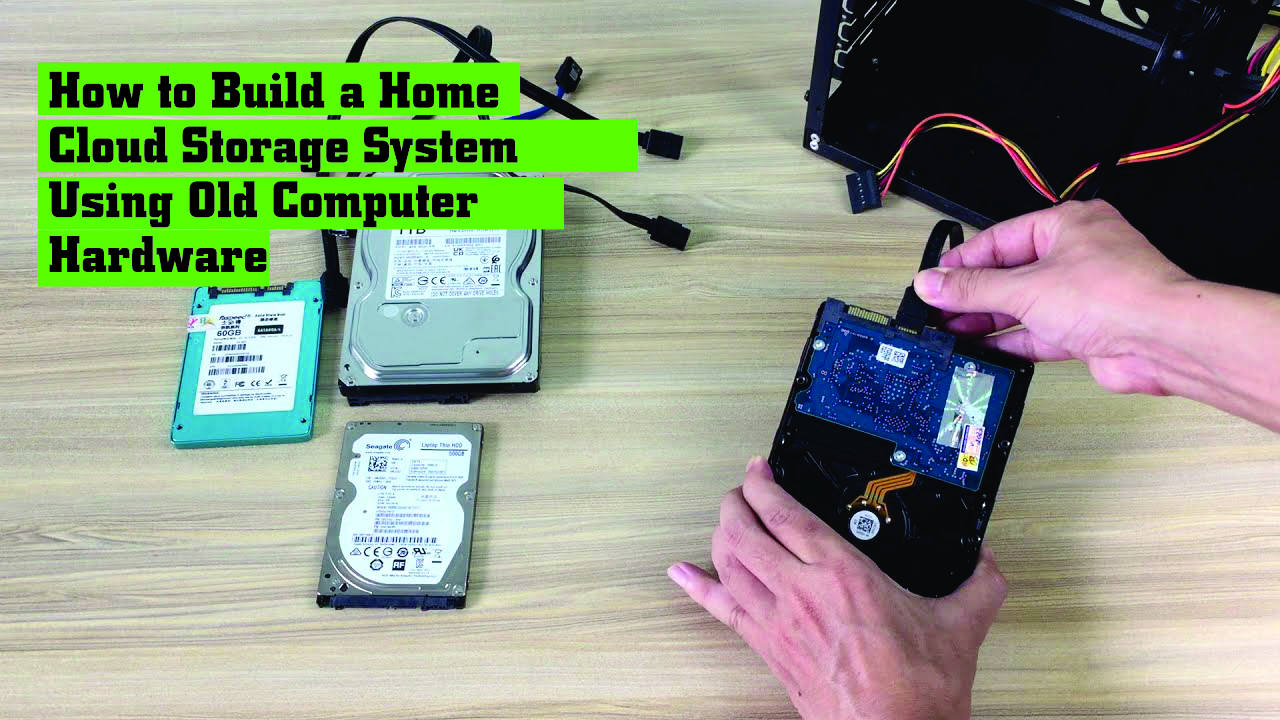
- Old Computer: It should have at least 2GB RAM and some starting hard drive space. The more, the merrier, but you can always extend with external hard drives later on.
- Hard Drives: Internal and external hard drives can be added for extension according to the requirement of storage.
- Ethernet Cable: But having a wired connection will ensure stability; you could use Wi-Fi for lighter work.
- USB Drive-for Installation: You will require a USB drive to install an operating system on your chosen device.
Ideally, you want to convert your old computer and turn it into a server. The only prerequisites being that it needs to boot and connect to the internet for it to do the job.
Step 2: Pick Your Cloud Software
In order for you to convert your old PC into a cloud server, software’s you will be using enables you to connect with the files remotely. So, here are two open source ones:
- Nextcloud: A fully featured, self-hosted cloud solution offering file sharing, syncing, and collaborative tools similar to Google Drive or Dropbox.
- ownCloud: Yet another powerful self-hosted cloud platform, offering some state-of-the-art features for file storage and sharing.
- Both have free versions, so for this post, let’s go with Nextcloud.
Step 3: Installing a Linux Operating System
Why Linux? It’s free, lightweight, and highly customizable-just what we want. One of the best options will be **Ubuntu Server**, since it’s pretty friendly for a newbie and works seamlessly with Nextcloud.
Installation Steps:
Download Ubuntu Server: Go to the Ubuntu official website and download an Ubuntu Server distribution.
Create Bootable USB Drive: With the downloaded Ubuntu Server ISO, create a bootable USB drive with the help of a tool such as Rufus.
Install Ubuntu Server: Boot the old computer off of that USB and follow on-screen instructions to install Ubuntu. Make sure you configure your network settings so your server connects to your home network.
Step 4: Install Nextcloud
With your operating system installed, now is the time to configure Nextcloud.
1. Update and Upgrade Your Server:
Execute these commands in the terminal to ensure that your server is updated:
“sudo apt update”
“sudo apt upgrade”
2. Install Nextcloud:
Install Nextcloud using the following commands below. You can proceed to set up Nextcloud using the setup prompts that will appear afterward.
“sudo apt install snapd”
“sudo snap install nextcloud”
Set this up with the setup prompts to your desired admin information.
3. Access Nextcloud from Your Browser:
When the installation is complete, open any browser and access your server by typing its local IP address (to be found in your router settings or by running from the terminal “ip a”). Log in using your admin credentials created earlier.
Step 5: Configure and Access Your Cloud Remotely
Access Locally
That’s great if you use your cloud storage only at home, but to use your files anywhere around the world, you need to set it up a bit more.
Enable Remote Access
Enable remote access by configuring your router to use Port Forwarding or by creating a dynamic DNS with services like No-IP so you can reach your server outside your local network.
Setup port forwarding on your router to port 443 to your server’s local IP.
Setup Dynamic DNS so you have a continuing web address to access your cloud in case your ISP changes your IP.
Step 6: Add Extra Layer of Security
Having a personal cloud is cool, but security should be at the top of your checklist. Here’s some of the most important things to do:
- Enable HTTPS: Utilize Let’s Encrypt to install an SSL certificate to ensure secure file transfers.
- Use Strong Passwords: Long, complicated passwords should be implemented on your admin account and created for any users you make.
- Backup Regularly: Just because you are running your own cloud, doesn’t mean you don’t have to back up data. This can be done using a secondary hard drive or with an external backup service.
Final Thoughts
The best use of an old hardware in making your home cloud storage system, besides giving you control over your data. And it’s highly scalable-just add drives as your needs grow. Now, go forth and enjoy your very own private cloud system, free from subscription fees and prying eyes!


